
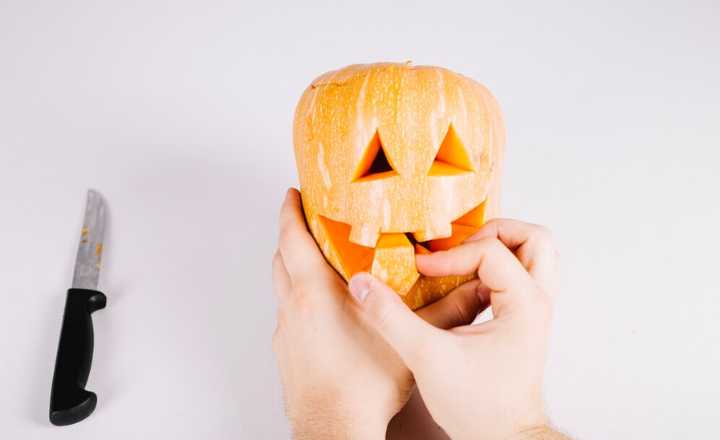
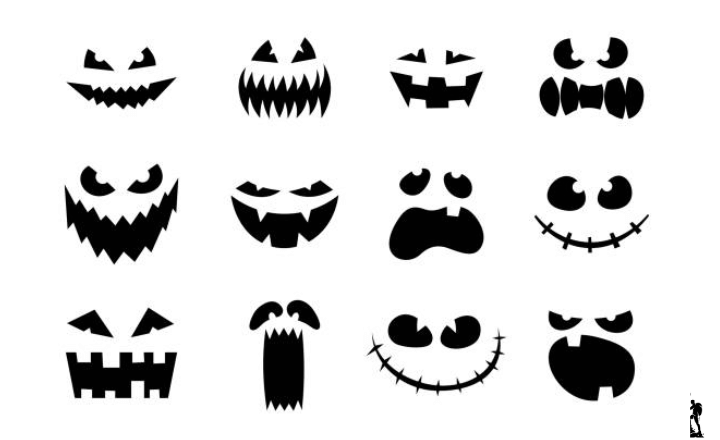
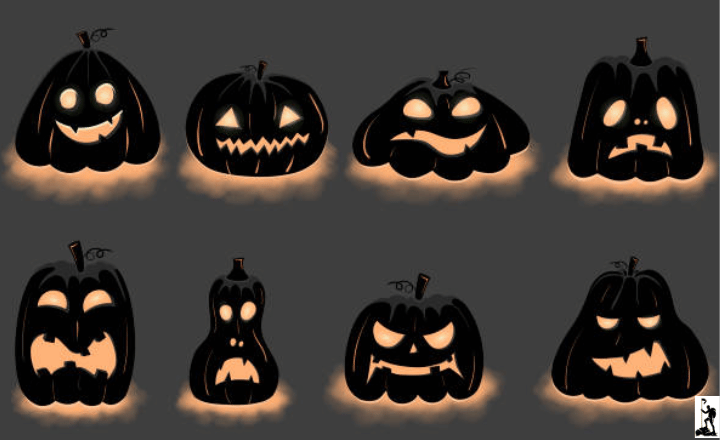
Halloween is the perfect time to get creative with pumpkin carving, and there are so many fun ideas to try. If you’re feeling artistic, try carving intricate patterns or swirls for a beautiful glowing effect. For a modern twist, carve emojis or popular memes into your pumpkin. You can even stack different-sized pumpkins to create unique sculptures.
Don’t forget to use tools like cookie cutters or stencils to help make your designs easier. With a little imagination, your Halloween pumpkin can be truly mind-blowing and the talk of the neighbourhood!
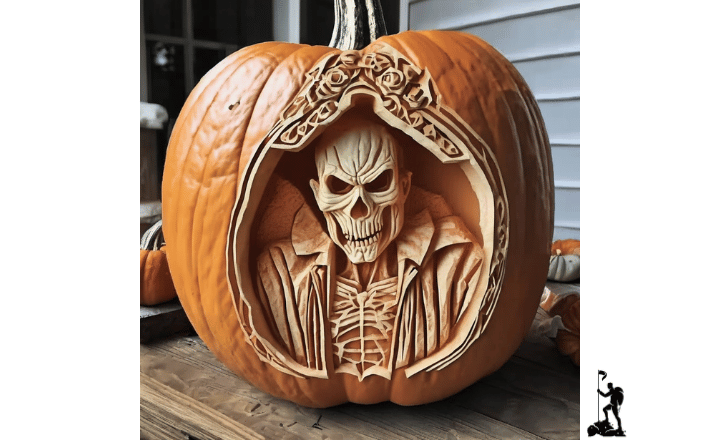
1 3D Sculptural Masterpieces
When it comes to 3D pumpkin carving ideas, it’s all about thinking beyond the surface. Instead of cutting out shapes, you’ll sculpt the pumpkin flesh to create lifelike features. I remember the first time I tried this, I was aiming for a spooky face, but it looked more like a surprised potato! But with practice, you can achieve excellent results.
Tools and techniques for 3D carving
For 3D carving, you’ll need some special tools. Clay loop tools, linoleum cutters, and wood carving sets are great for this. Start by sketching your design on the pumpkin, then slowly carve away layers to create depth. It’s like peeling an onion but way more fun!
Inspiring 3D pumpkin carving ideas designs
Some cool 3D designs I’ve seen include realistic animal faces, famous landmarks, and even portraits of people. My neighbor once carved a 3D dragon that looked like it was about to leap off the pumpkin – it was the talk of the street
2 Intricate Lace-like Patterns
For lace patterns, you’ll want a pumpkin with thin, smooth skin. The big, bumpy ones might look cool, but trust me, they’re a nightmare for detailed work. I learned this the hard way when I tried to carve a delicate snowflake on a warty pumpkin—it looked more like a splat than a snowflake!
Lace pattern templates and transfer methods
You can find lace patterns online or create your own. To transfer the pattern, tape it to your pumpkin and use a pin to poke holes along the lines. You’ll have a dotted outline to follow when you remove the paper.
Carving techniques for fine details
For lacy designs, small, sharp tools are your best friends. I like to use a craft knife or a small gouge. Take your time and work in small sections. Remember, you can permanently remove more but can’t put it back!
3 Illuminated Dioramas
Dioramas are like little pumpkin theaters. You could create a spooky forest scene, a haunted house, or a witch’s coven. I once made a diorama of my cat chasing a mouse – not very Halloween-y, but it made my kids laugh!
Creating multiple layers for depth
To create depth in your diorama, carve different elements on different layers of the pumpkin flesh. The deepest cuts appear brightest when lit, while shallower cuts create shadows and depth
Lighting techniques for dioramas
Experiment with different lighting options. Tea lights are classic, but LED lights can offer more control over color and brightness. I once used a flickering LED to create the effect of a campfire in my forest scene – it looked so cozy that I almost wanted to roast marshmallows in there!
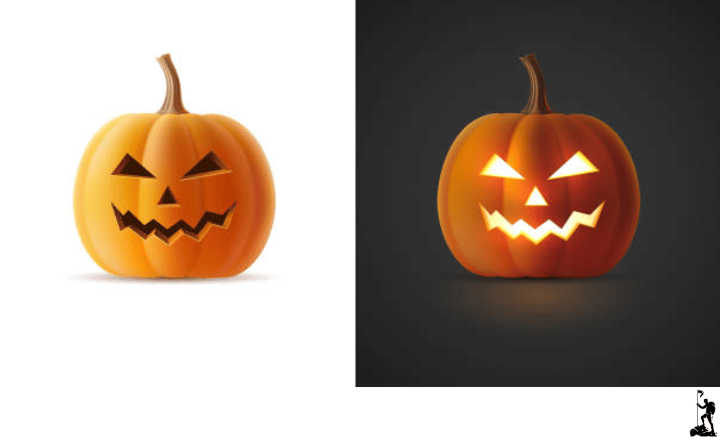
4 Optical Illusion Carvings
Optical illusions in pumpkin carving play with light and shadow to create surprising effects. It’s all about controlling how much light passes through different areas of the pumpkin

Popular optical illusion designs
Some popular illusions include faces that seem to follow you, 3D-looking objects, or designs that change depending on your viewing angle. My personal favorite is Rubin’s vase illusion—from one angle, it looks like a vase, and from another, two faces!
Tips for achieving realistic effects
The key to good illusions is contrast. Carve some areas deeply to let lots of light through, and leave others thicker to create shadows. It takes some practice, but the results can be really impressive
5 Pop Culture and Movie-Inspired Designs
Pick characters or scenes that are easily recognizable. I once carved the silhouette of E.T. and Elliott on their bicycle against the moon. Everyone knew what it was right away!
Adapting 2D images for pumpkin carving ideas
When adapting 2D images, simplify complex details and focus on the most distinctive features. Unique hairstyles or accessories can make characters instantly recognizable
Adding color and special effects
While traditional pumpkin carving is monochrome, you can add color with tissue paper or translucent paint. I’ve even seen people use colored lights inside the pumpkin for an excellent effect
6 Interactive and Mechanical Pumpkins carving Ideas
Moving parts can bring your pumpkin carving ideas to life. Think spinning eyes, opening mouths, or waving arms. I once made a pumpkin with a tongue that rolled out when you pulled a string – it was a big hit with the trick-or-treaters!
Sound-activated pumpkin carving ideas
Imagine a pumpkin that lights up or moves when someone screams – spooky and fun! You can use simple electronics to create sound-activated features. Just be prepared for kids (and some adults) to spend all night yelling at your pumpkin!
Safety considerations for mechanical elements
When adding mechanical elements, ensure all moving parts are secure and won’t catch on costumes or hair. Also, keep any electrical components well away from the candle or light source inside the pumpkin.
7 Glow-in-the-Dark and UV-Reactive Carvings
Glow-in-the-dark paint or tape can add an eerie effect to your pumpkin. I love using it to create “floating” eyes or ghostly shapes. Remember to “charge” the glow material with light before showing off your creation
UV-reactive paint techniques
UV-reactive (or blacklight) paint looks normal in daylight but glows under U.V. light. This can create an astonishing day-to-night transformation for your pumpkin. I once painted a “normal” face on a pumpkin that turned into a skeleton under U.V. light—it was pretty awesome!
Try combining carved areas with painted ones for a multi-dimensional effect. For example, you could carve a spooky tree and paint UV-reactive owl eyes peering out from the branches.
8 Pumpkin Carving Ideas with Alternative Tools
Power tools like drills or Dremels can create interesting textures and patterns. Just be careful, pumpkins are softer than you might think, and it’s easy to go too far. I learned this when I accidentally drilled right through my pumpkin and into the table underneath!

Incorporating non-traditional materials
Think outside the box with materials like beads, sequins, or tiny mirrors. I once decorated a carved pumpkin with glow-in-the-dark star stickers to create a night sky effect – it was magical!
Always prioritize safety. Wear safety glasses when using power tools and ensure you have a stable work surface. And maybe lay down some newspaper – pumpkin bits can fly when you’re using a drill!
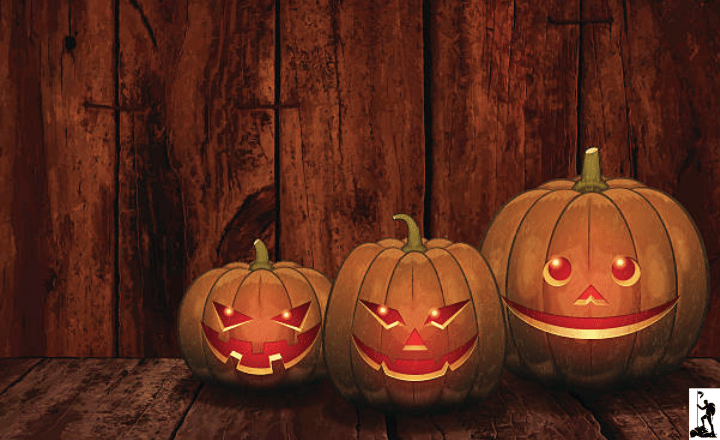
9 Themed Pumpkin Clusters ideas
A group of themed pumpkins can tell a story or create a scene. You could do a fairy tale theme, a spooky graveyard, or even carve the moon’s phases. One year, my family and I each carved a pumpkin to represent our favorite book – it was a fun way to share our interests!
Varying sizes and shapes for visual interest
Mix up the sizes and shapes of your pumpkins to create more visual interest. Use more miniature pumpkins for details or supporting elements, and larger ones for your main design.
Consider how your pumpkins will be viewed. Place more giant pumpkins towards the back and smaller ones in front. You can use hay bales, crates, or even an old ladder to create different levels for display
10 Preserving Your Pumpkin Masterpieces
To make your carved pumpkin last longer, try rubbing the cut edges with lemon juice or vinegar to prevent mold. Keeping it cool can also slow down decay. I once put my carved pumpkin in the fridge overnight to keep it fresh for a party the next day – my roommate was surprised when he went for a midnight snack!
Creating long-lasting artificial pumpkins
Try carving an artificial pumpkin for a pumpkin that lasts year after year. Craft stores sell foam pumpkins that carve like the real thing but won’t rot. Plus, you don’t have to clean out any pumpkin guts!
Remember to take plenty of photos of your pumpkin creations. Try different lighting and angles to capture all the details. I like to make a photo album of each year’s pumpkins—it’s fun to look back and see how my carving skills have improved over time
Summary
From 3D masterpieces to Scary Pumpkin carving ideas, there’s no limit to what you can create with a pumpkin and a bit of imagination. Whether you’re a seasoned carver or a newbie, these ideas offer something for everyone. So grab a pumpkin and start carving, who knows what fantastic creation you’ll come up with?
FAQS
How long does it take to carve an intricate pumpkin design?
It depends on the complexity of the design and your skill level. A simple design might take an hour or two, while a complex 3D carving could take several hours or even days. My advice? Put on some good music or a podcast, and enjoy the process!
What tools do I need for advanced and easy pumpkin carving ideas?
Basic carving kits are a good start, but you might want clay loop tools, wood carving sets, or even small power tools for more advanced designs. And remember, a good, sturdy spoon is essential for scooping out those pumpkin guts!
How can I keep my carved pumpkin fresh for longer?
Keeping your pumpkin cool and dry helps a lot. You can also try spraying it with water and bleach to prevent mold. If all else fails, there’s always the artificial pumpkin option!
Are there alternatives to traditional pumpkins for carving?
Absolutely! You can carve all sorts of gourds and squashes. I’ve even seen people carve watermelons for summer events. Just pick something with a thick enough rind to hold your design.
How can I safely light my carved pumpkin?
Battery-operated LED lights are the safest option, especially for indoor use. If you prefer the flicker of a real flame, use a tea light in a holder, and never leave it unattended. Safety first, spookiness second!